An inground pool liner can last for a decade or more if you take care of it properly but it will need a replacement sooner or later. The liner replacement can be challenging but not impossible with some materials and know how. However, if you have not done a replacement before, it is best to review that steps that need to be done first before getting on with the project. There might be some steps on the whole process where you might require the services of a professional.
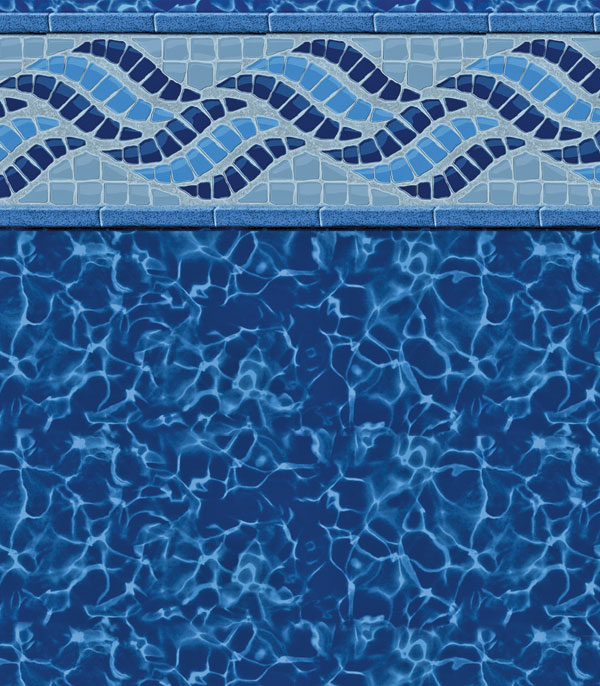
Or you can get in contact with our people in PoolCity NJ, We are proud to use Latham brand liners.
Step 1- Ordering the Pool Liner
A replacement liner can take between 2 to 3 weeks to be delivered. Hence, you should find a supplier that can give it to you before preparing for the task.
Step 2 – Preparing the Pool
You need to drain the water from the pool first and then remove all lights, drains and fixtures. Take the liner from its tracks and cut it into smaller portions. Set these aside to be recycled later. Put duck tape on the seams that join the walls together. This will allow you to keep the seam from being seen after the new liner is installed. Signs of rust and other irregularities on the walls of the pool should be sanded or scraped off. If you notice signs of corrosion or rough areas in the walls of the pool, it would be better if you could install wall foam first before attaching the liner. Even if your swimming pool is in a relatively good condition, it would still be better if there is a wall foam, so that it can help in preventing damage to the pool liner. You should also check the track for the liner. See if the liner bead is still fit to handle regular wear and tear. You may replace damaged areas if needed.
Step 3 – Preparing Pool Bottom
If your pool has a soft bottom, find discolored or muddy sand which is a sure sing that the old liner was leaking. Take out discolored or muddy sand and replace them with fresh sand that has similar consistency. Smooth out the pool bottom using a plastic trowel, taking out any stone and other similar material that may have been pulled in. If your pool has vermiculite or concrete bottom, sweep it clean of any debris. You should also have an inspection for corrosion or damages. Any cracks found should be filled up with the same material and smoothed out with a trowel.
Step 4 – Installing the Pool Liner
Install the pool liner from one corner of the pool to another utilizing the aid of your three assistants. Be sure to follow the instruction of the manufacturer when doing this. Generally, the installation is started from the deep end and then going towards the shallow end. Make sure that the liner do not drag across the surface of the work area or the pool. Once you have stretched the pool liner across, drop it down with care to the bottom of the pool.
Step 5 – Installing the Beading
The beading should be installed from the outer edge of the liner and into its track. If you are installing the liner on a hard bottom, take off your shoes and walk with care inside the pool. This will allow you to make any adjustments that are necessary while at the same time inserting the liner into its track.